Learn How to Clean A Camera Lens from Our Camera Optical Engineers.
Keeping Your Optics Clean is Critical to Image Quality
- Review the impact of dirt and dust on your pictures and/or computer vision system.
- Identify ways to avoid dirty optics and camera sensors.
- Explain best practices to clean your camera lens and/or other optics.
If you've spent lots of with cellphone cameras, consumer DSLRs, and/or building your own USB / GMSL cameras, you'll quickly find issues that result from dirty optics.
In this article, we'll:

Dust and Dirt on your camera lens can ruin a good image and create havoc for computer vision models
1.) Stray Light (Camera Lens Haze And Streaks)
Stray light results from light scattering off surfaces within into your camera. Dust or dirt that is located anywhere in the optical path can create stray light issues.
The easiest way to see an example of stray light is to put a fingerprint on your cellphone camera then point it at a bright overhead light. These streaks are one type of stray light known as flare. See our stray light article for more examples of stray light and the impact.
To avoid stray light, keep your lenses clean and use a lens hood when you're shooting in bright or backlit conditions.


2.) Blemishes (Spots and Dark Dots)
Blemishes are a complete nuisance because they are challenging to get rid of. Blemishes are largely a result of dust on your camera sensor, but for OEM camera manufacturing, dust on the back of your lens can shake free over time, thus landing on your image sensor.
Blemishes can be post corrected in Photoshop, Lightroom, or with other image processing software. This can be a very tedious process.
How to Avoid Dust and Dirt
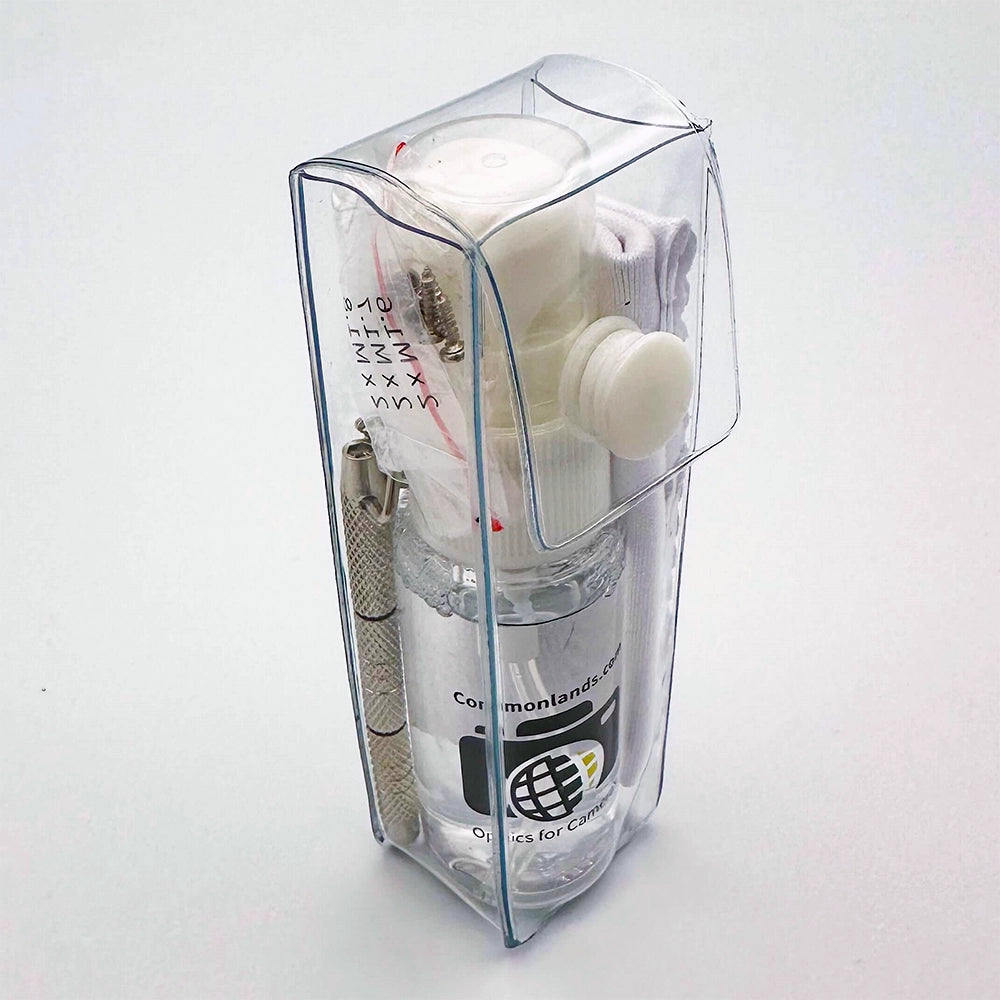
1.) Keep it Clean
Store your lens and camera in a clean case. Whenever reattaching your lens (DSLR, mirrorless) to the camera, use a blast of room air on the sensor and lens. Ideally this is desiccated (dry) compressed room air that is also ionized.
If you take your lens off, make sure to do it in the cleanest environment possible, or shield your camera from the environment as best possible, such as in a backpack or vehicle. Here at Commonlands, we perform every step in a Cleanroom Class 1000 equivalent environment in clean rooms and/or laminar flow stations.
If you are a camera engineer looking for more detailed assembly tips and tricks for volume production, we're happy to help: send us an email. These are too detailed for a quick article.
2.) Preassemble When Possible
If you are creating an embedded camera system, we recommend prethreading the lens with the lens holder before assembling with the PCB. This prevents unwanted anodization debris from landing on the sensor, creating blemishes.
How to clean your camera lens
1.) Blow off your lens using Room Air
First, use room air to remove dust. The best solution is to use dry ionized compressed air.
If you don't have an air compressor and ionized air gun, you can also use a tool like our air duster.
Do not use keyboard cleaning aerosols that contain liquid. This can leave streaks and make it even harder to clean. And in certain cases this can damage the coatings on the lens.


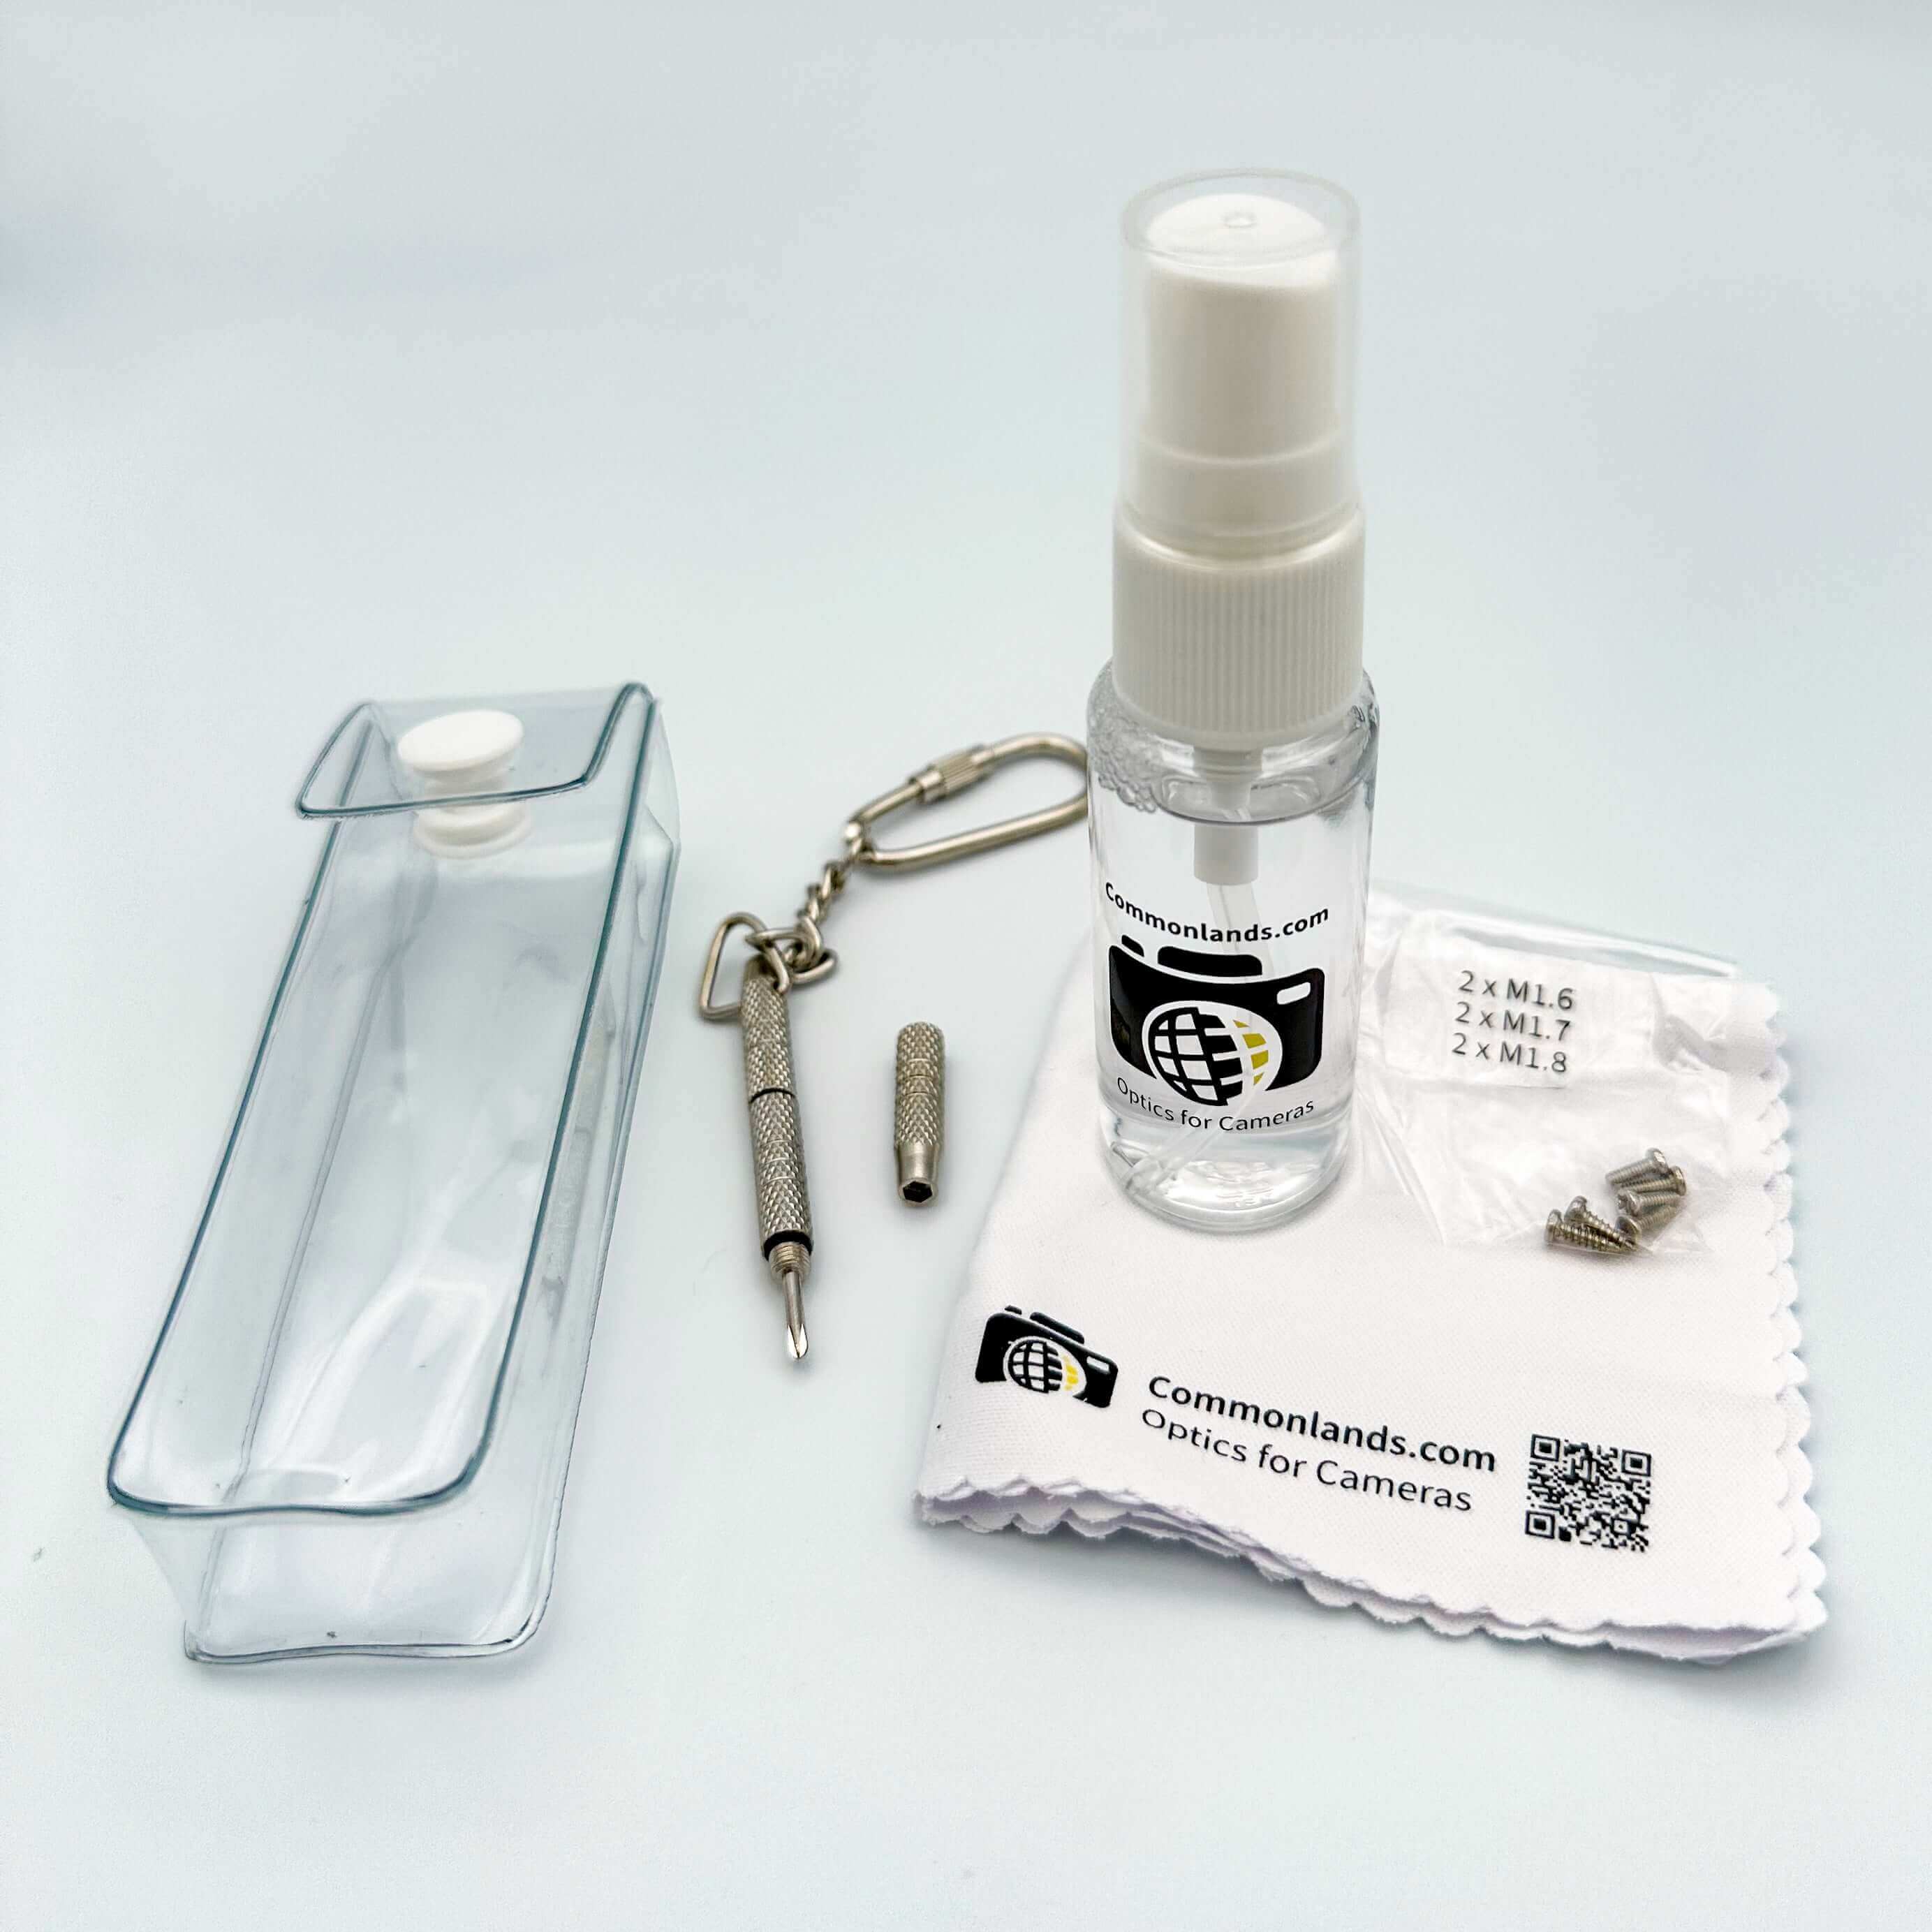
2.) Use lens cleaning Solution
Use lens cleaning solution and a cleaning cloth to wipe off any remaining dirt.
Be sure to avoid using coarse cloths or dirty/sandy cloths as these can scratch the lens element and/or coating.
If you do not have lens cleaning solution, we recomend mixing distilled water with isopropyl alcohol in a 50% 50% mixture.
What's Your Application? Our Lenses Cover the Spectrum.
Factory Machine Vision?
Our cost-effective compact C-Mount lenses are designed for up to 1.1"~1.2" format global shutter sensors.
Intelligent Everywhere?
Our low distortion lenses with multiple F# can be used to optimize your depth of field.
Surveillance?
Our fisheye and IR Corrected lenses are suitable for doorbell cameras and active IR illuminated scenes.
Does it Require Getting Dirty?
Our IP67 and IP69K lenses are suitable for applications exposed to the environment.